


Waterbath Canning for Beginners | Creative Canning
The Perfect Place to Start Preserving!

Water bath canning is where most people start—and for good reason. It’s simple, inexpensive, and perfect for high-acid recipes like jam, jelly, pickles, fruit, and salsa. If you’ve never canned before, water bath canning is the best way to build skills, confidence, and a pantry full of shelf-stable food.
All you really need is a stock pot deep enough to cover your jars with water, a few basic tools, and a reliable recipe.
Once you get the hang of it, you’ll be amazed at how easy it is to make your own jam, preserve extra fruit, and stock up on favorite condiments and gifts.
Water Bath Canning Basics
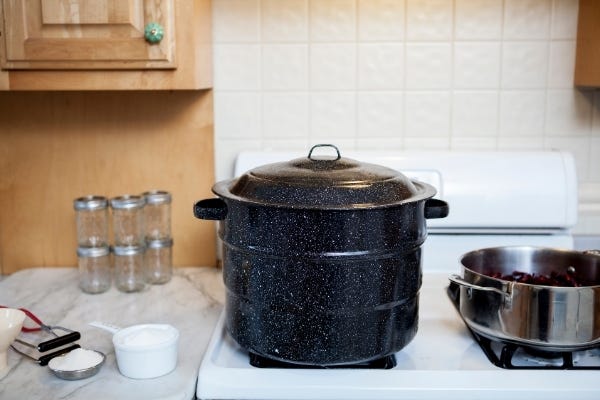
If you’re just getting started with canning, water bath canning is the easiest and most approachable method. It’s ideal for preserving high-acid foods like fruit, jams, jellies, pickles, and most tomato-based salsas and sauces. You don’t need any special equipment beyond a deep pot with a lid, a few canning jars, and a way to keep them lifted off the bottom—like a round cake rack or even the metal rings from canning lids tied together.
The process is simple: you fill clean jars with hot food, seal them with canning lids and rings, and boil them in water deep enough to cover the tops by at least 1 inch. That boiling water creates a vacuum seal as the jars cool, which makes them shelf-stable for long-term storage. There’s no need for pressure canning here—just a good rolling boil and a trusted, tested recipe.
A few things to keep in mind:
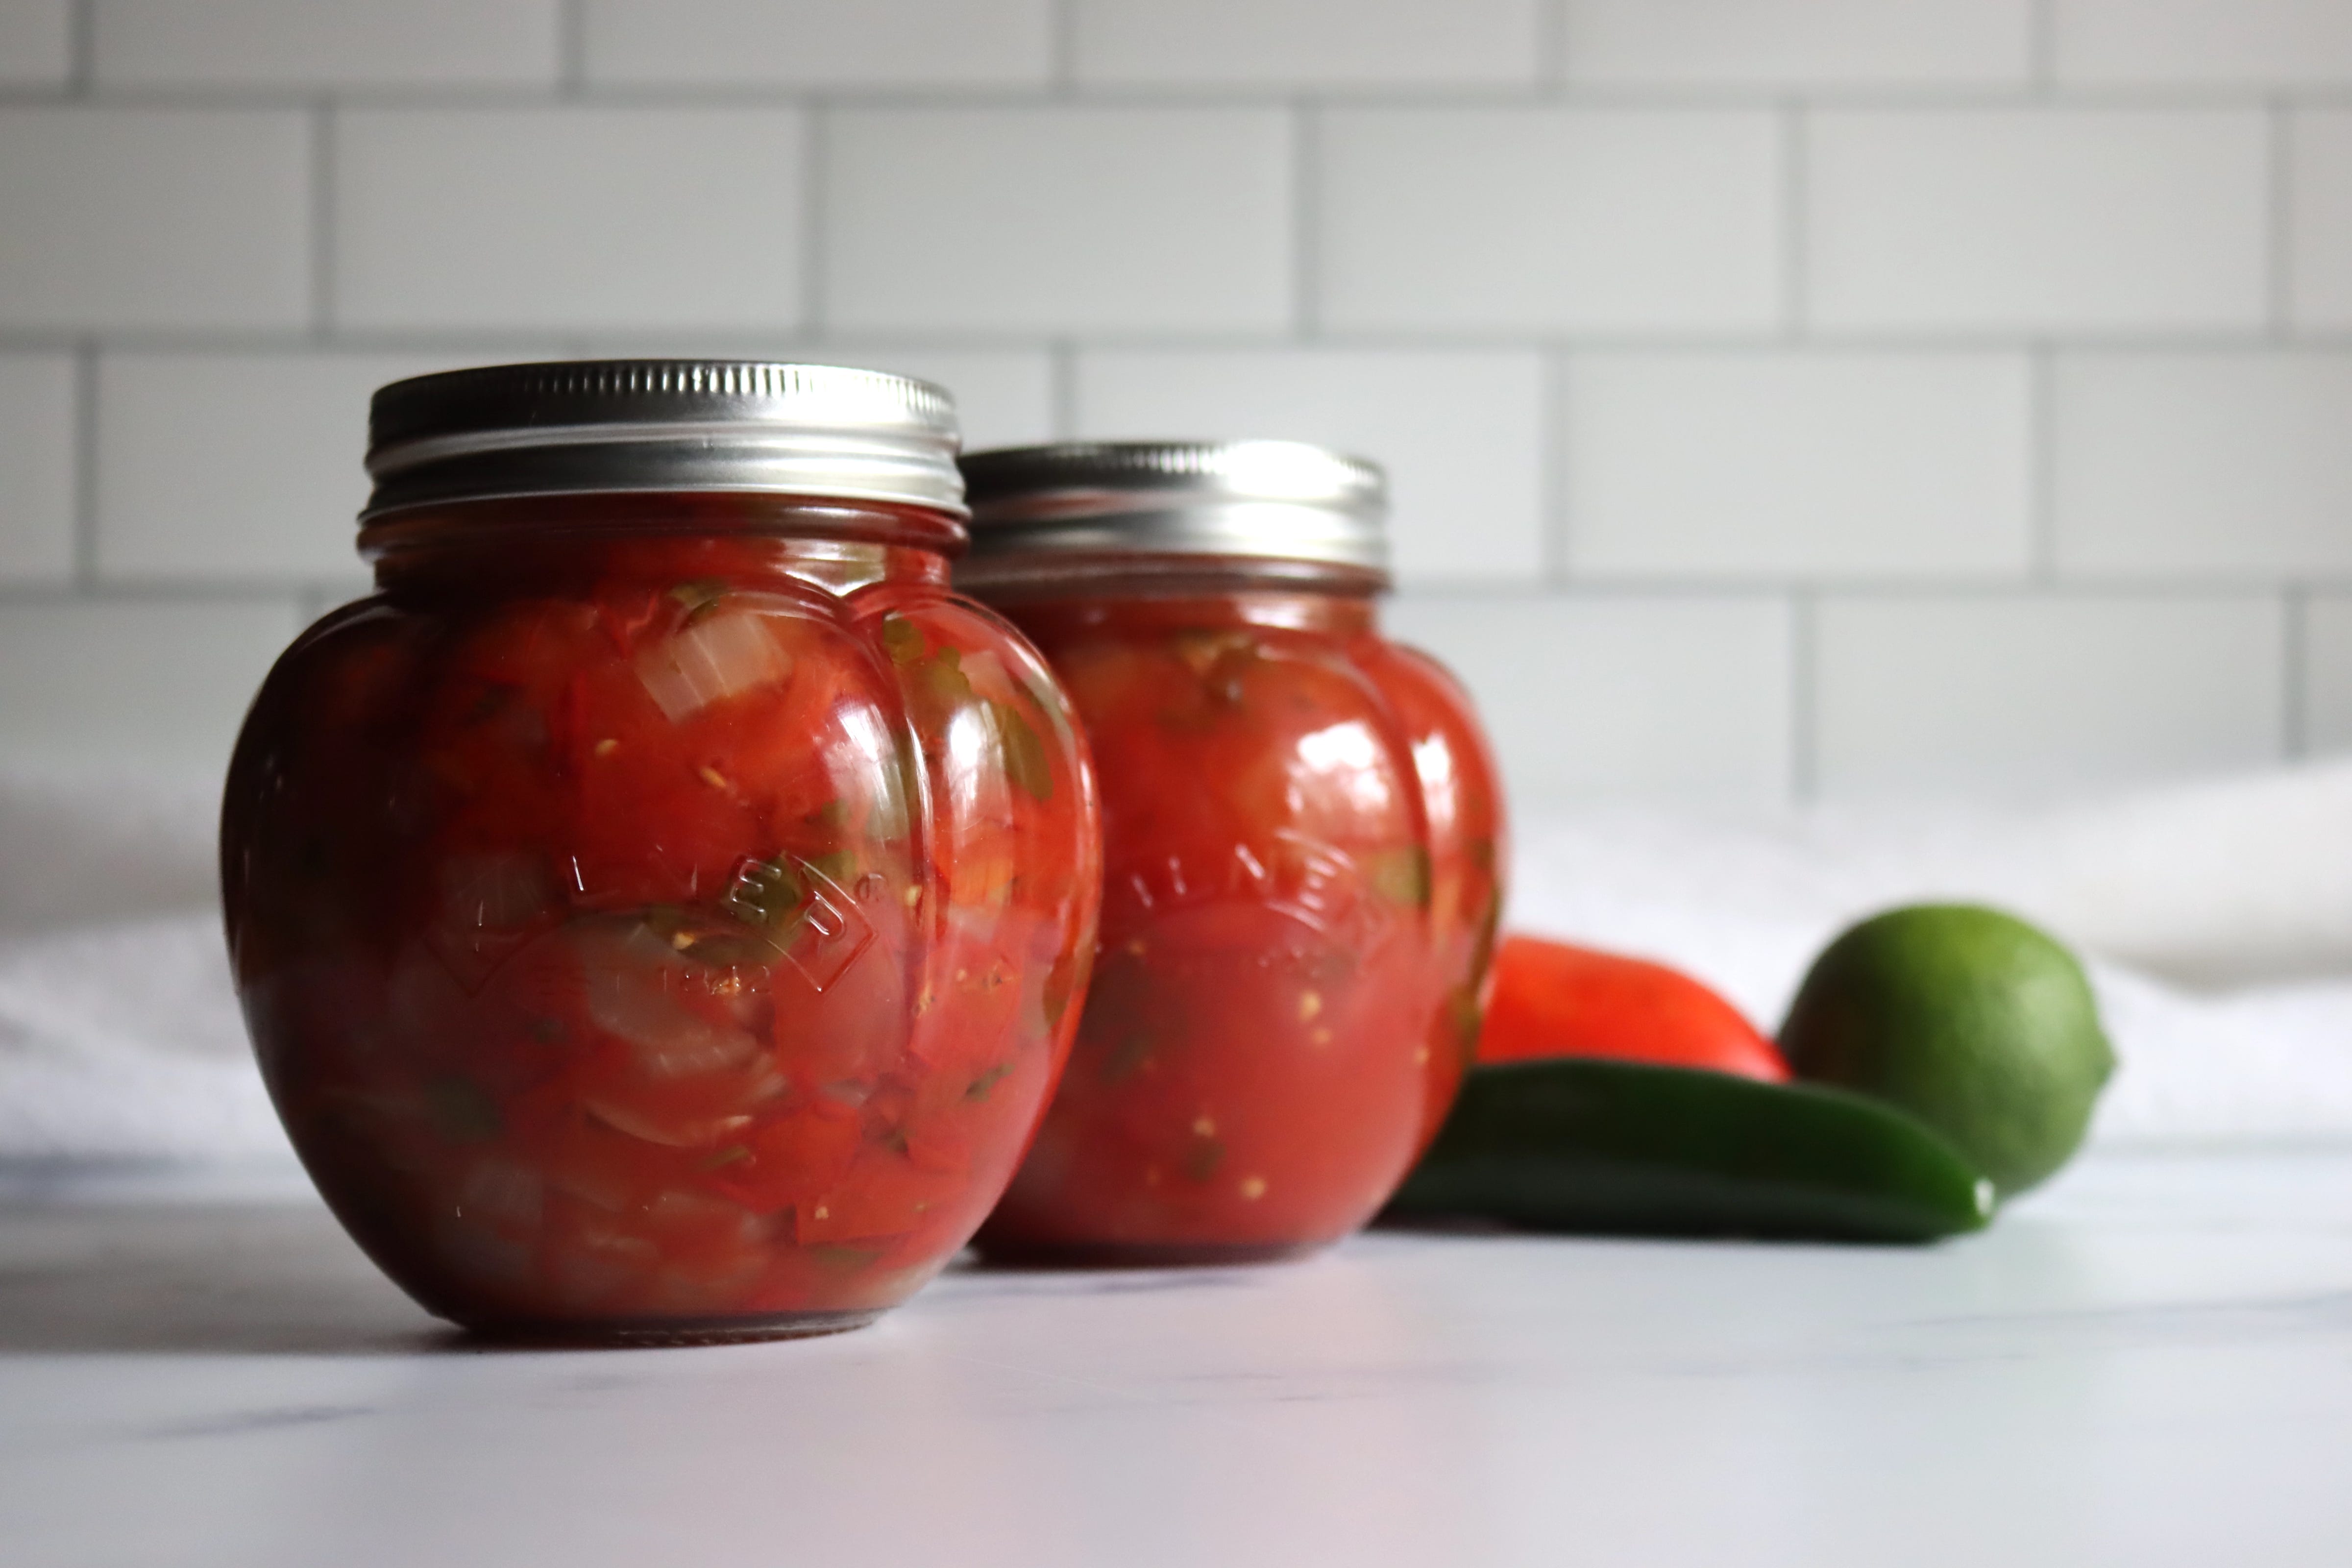
Only use tested recipes that are high in acid or properly acidified (like pickles or tomato sauces).
Always adjust your processing time for altitude.
Don’t reuse canning lids—they’re single-use only.
Let jars sit undisturbed for 12 to 24 hours after canning to ensure the seal sets properly.
If you'd like a full step-by-step breakdown of how to do it (with photos, tips, and troubleshooting), check out my detailed guide:
Beginner’s Guide to Water Bath Canning – Everything you need to know to get started, all in one place.
What’s the Difference Between Water Bath and Pressure Canning?
Water bath canning is used for high-acid foods, which naturally prevent the growth of harmful bacteria. This includes most fruits, jams, jellies, pickles, fruit syrups, and acidified tomato products (like salsa with added lemon juice).
Pressure canning is required for low-acid foods like vegetables, meat, poultry, beans, and soups. These foods must be processed at higher temperatures than boiling water can provide to ensure safety.
As a rule of thumb:
If it’s sweet, fruity, or vinegary—it’s probably safe for water bath canning.
If it’s savory, meaty, or starchy—it needs to be pressure canned.
Beginner-Friendly Canning Recipes
These are some of the best first recipes for new canners—simple ingredients, straightforward instructions, and a high success rate. They’ll give you the foundation you need to start filling your shelves with confidence.
Old Fashioned Strawberry Jam (No Added Pectin) – Just berries, sugar, and lemon juice.
Pickled Dilly Beans – Crisp and tangy, with a classic garlic-dill flavor.
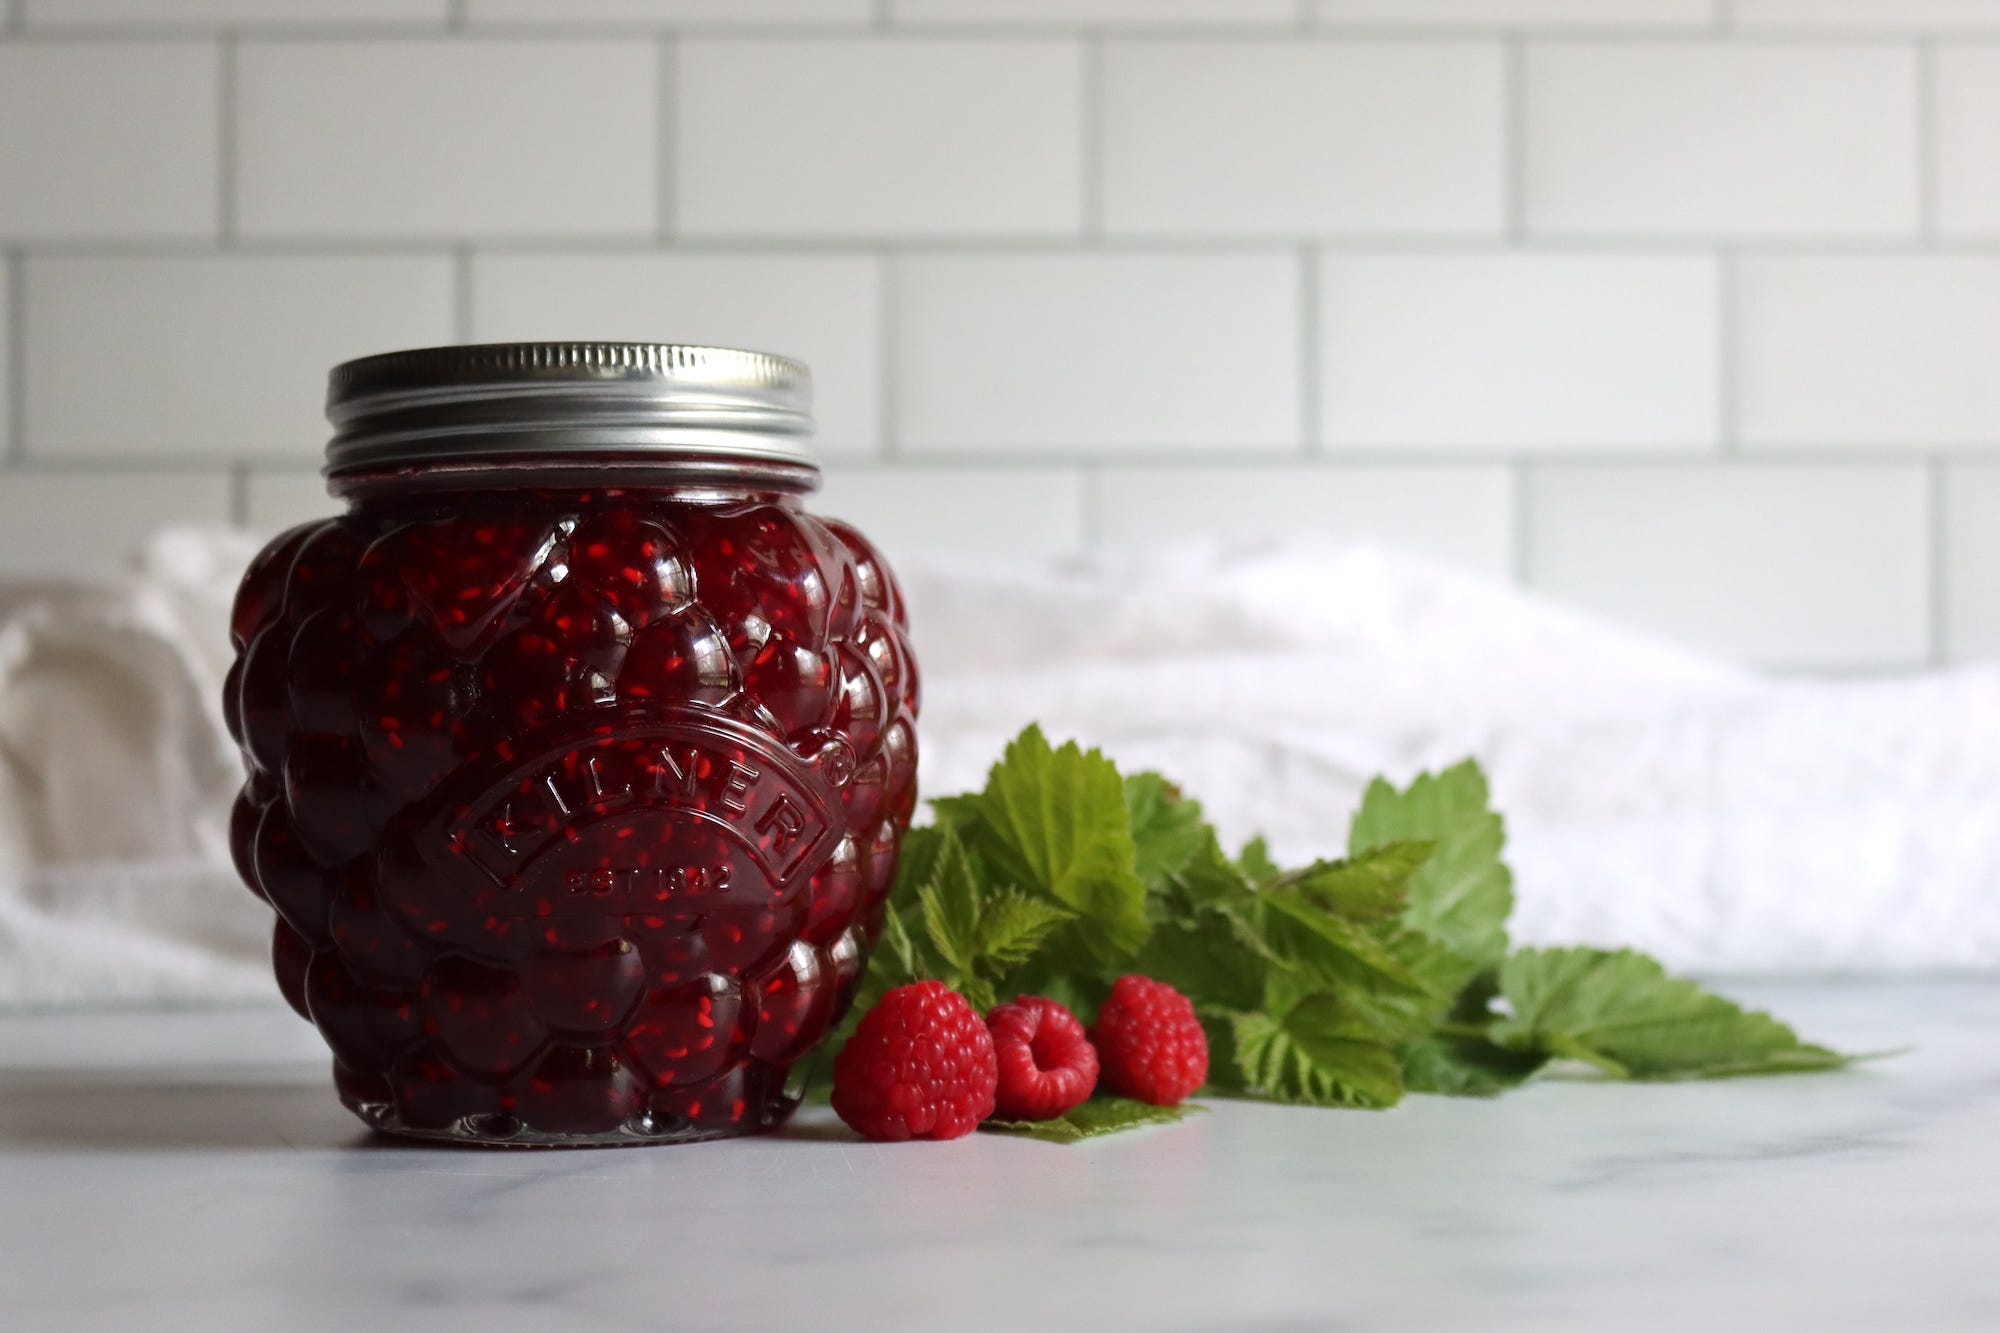
Canning Whole Berries – Preserve any berry in syrup or juice—no pectin or thickener needed.
Corn Relish – Sweet, tangy, and packed with crunch. Great with grilled foods.
Canning Applesauce – No added sugar required, and it’s as easy as peeling and simmering.
Grape Jelly – A classic for beginners, with a bright, sweet flavor.
Bread and Butter Pickles – A staple for sandwiches and snacking.

Troubleshooting Tips
If something doesn’t go quite right with your first canning batch, don’t worry—it happens to everyone, and most issues are easy to fix.
If a jar doesn’t seal, you can reprocess it within 24 hours or just store it in the fridge and use it within a few weeks.
If your jam or jelly doesn’t set, let it sit for a few days—it often firms up with time. If not, you can recook it with a bit more pectin or use it as a syrup for pancakes, yogurt, or drinks.
If you're unsure whether a recipe is safe, don’t guess—stick with tested recipes from trusted sources, and feel free to ask questions.
Canning is a skill you build with practice, and small setbacks are just part of the learning curve. You’ll be filling your shelves with confidence in no time.
If you’re just getting started or brushing up on the basics, you’re in the right place. Water bath canning opens the door to all kinds of preserving projects, and once you get going, it’s hard to stop.
Leave me a note in the comments if there’s a recipe you’re looking for or something you want help with—I’m happy to help you find a safe place to begin.
Happy Canning!
Ashley at Creative Canning
I've done mostly pressure canning in the past. I needed a review for water bath
canning. Thank you !
Yay canning! Here is a low-tech proven method for preserving food. WAY BETTER than freezing. No energy required to store—just space.
Get over the excuses, canning involves some work. But it can be fun in groups and you’ll be so thankful to yourself in winter and spring.